No products in the cart.
How to use our Vibrating Table
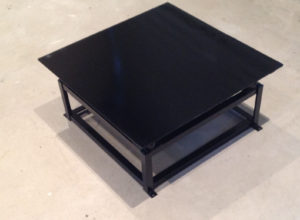
Our vibrating tables are ideally suited for shallow type moulds like paver moulds, stepping stones moulds, plaques and sign moulds, bird bath tops and garden ornaments moulds.
Tables are all metal construction, 3mm steel top, industrial rubber bushes, and feet allowing table to be fixed to the floor saving any loss of vibration.
240 volts.
 Step 1
Table should be bolted to the floor so as to avoid any loss of vibrations.
Step 2
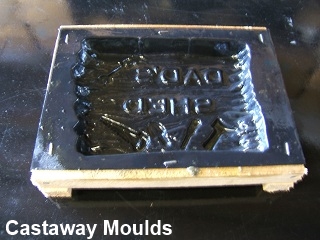
Turn table on, ensuring the mould to be used has been brushed/coated with a mould release oil.
 Step 3
Put the mould on to the table top.
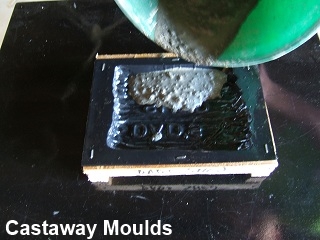
Then start to fill your mould with concrete slowly in one-spot. Which allows the table to spread the mix into the mould.
Leaving the mould on the table shall then allow the air bubbles to escape by coming to the surface.
 Step 4
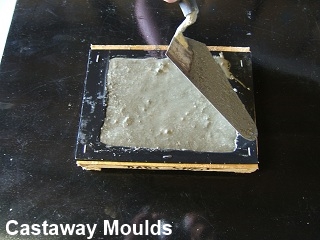
Then level the mix off using a trowel. This gives a smooth and level base for a professional finish.
The mould should then be left to set.
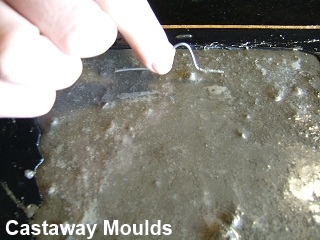 Step 5
The mould may need certain additional pieces such as hooks or tubing to complete the product.
In the example shown (Wall Plaque) a hook is placed into the mix after vibration has concluded.
 Tips
Tips
Typically a shallow-type mould will usually take between 45 seconds to a minute and a half to vibrate, although this greatly depends on how wet or dry the mixture is.
Guide rails can be clamped to the table top using pieces of timber, this will stop moulds vibrating off the table whist being filled, giving more control to the operator.
To reduce noise of the mould tapping on the table, a piece of carpet can be glued to the table top. A release oil should be used on Plastic, Metal, Fibreglass Moulds before being filled.


