No products in the cart.
How to Use Log Railway Sleeper Mould
Log Railway Sleeper Insert/ Imprint Pad Mould
Size approximately 700mm x 240mm
This can easily be cut to you own size with a sharp knife or scissors to make your own custom size mould.
There are 2 ways this mould can be used.
First Method
BOX MOULD
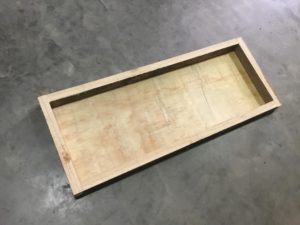
Make a box mould to the size required
To use this insert mould you will be required to make a simple wooden box that can be screwed together to the size you require your sleeper to be, this will allow your insert to be placed at the bottom of your box.
An old wooden pallet is a cheap and ideal way to make the box mould.
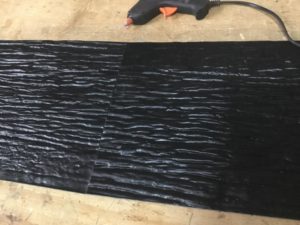
Cut and fit insert to fit your mould
Cut the plastic insert/s to the required length and width and place at the bottom of your box mould.
These can be glued to the bottom of the box mould if required and is recommended.
Use a release type oil sparingly
Oil the plastic with a release type oil sparingly and then fill the mould with mix.
Once the mix has set, usually overnight, the box can be unscrewed, and the sleeper removed and left to dry out thoroughly.
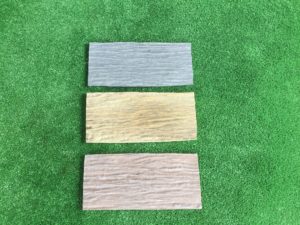
When using more than one insert in a long run you will create a vertical line to the sleeper which can allow you to create a brick type pattern in your retaining wall or floor which can look very appealing rather than just one long sleeper.
For Example, if you require a sleeper 200mm wide x 1800mm long, you will require 3 inserts.
To bring out the pattern of your sleeper please see below under painting section.
Please refer to photos for guidance.
Second Method.
IMPRINT MOULD
This insert can also be used as an imprint mat, this is where the mix gets poured into a box mould first as in method 1, but then left to dry out slightly and then the insert is pushed down into the mix hard to leave the impression of the insert.
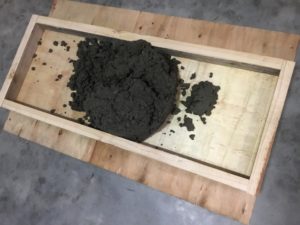
Fill Mould with Mix
Fill Mould with Mix
Use a release type oil or release powder on the insert or the concrete surface or both in some cases
Use a release oil or release powder on the plastic imprint or mix or both in some cases before use.
The imprint can be cut to the desired size and glued on to a piece of plywood to create an impression stamp.
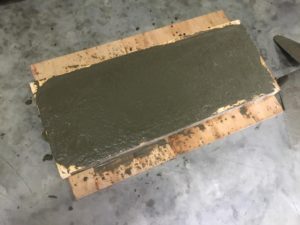
Firmly Press insert into the mix to achieve required finish.
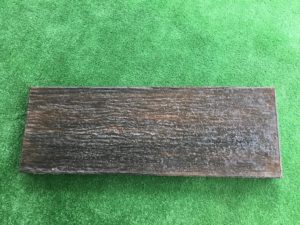
The insert mat must be pushed in the mix at the correct time to achieve best results, a very wet mix will allow you to create a tree bark like finish, where as a mix left to dry out for slightly longer can achieve a slightly deeper impression, stamping or tapping the imprint may be required.
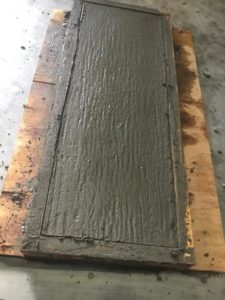
Once cured, sleeper can be de-moulded and then left to dry out further before using.
Depending on the finished look that you require you could put coloured oxide dye into the mix or paint once cured.
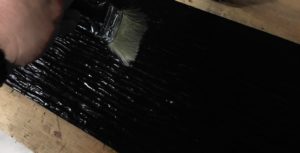
Painting.
To bring out the pattern of the finished sleeper a technique called ghosting or feathering is often used, this method is a very fast, cheap and easy way to make the sleeper look more effective.
It is basically just putting a very small amount of paint onto the tip of a paint brush, then removing any excess paint off onto a scrap a piece of card and then lightly brushing the sleeper with very light strokes across the pattern.
There are many in-depth videos on the internet that go into much more detail for guidance.
Please note: There are many different ways this insert/imprint pad/mould can be applied and can be used in many applications; the end result depends on the end user and many different factors that are taken into consideration.
Types of materials used, strength requirements of materials, temperature working conditions and the end users’ skills can all be a major factor to what final requirements are acceptable.