No products in the cart.
How to Use Latex
Set out below is a list of some different ways that liquid latex rubber can be used.
Mould Making
Plaster of Paris Masters
Plaster of Paris is one of the most suitable materials that can be used as it draws moisture from the latex causing it to thicken.
Clay Masters
This material is suitable but should be allowed to dry before latex is applied.
Wood Masters
Latex can be applied to wood, but it must have a smooth surface and is best if slightly porous.
Modelling Clay/Plasticine Masters
Latex can be used but may have a reduced shelf life.
Fibreglass/China/Porcelain Masters
Non porous moulds can be used, but is best using the paint on method.
Metals Masters – Brass/Copper/Tin
Some metals will react with latex, causing a brown discolouration and is best avoided.
Popular Methods Used
 Dipping Method for Small Masters
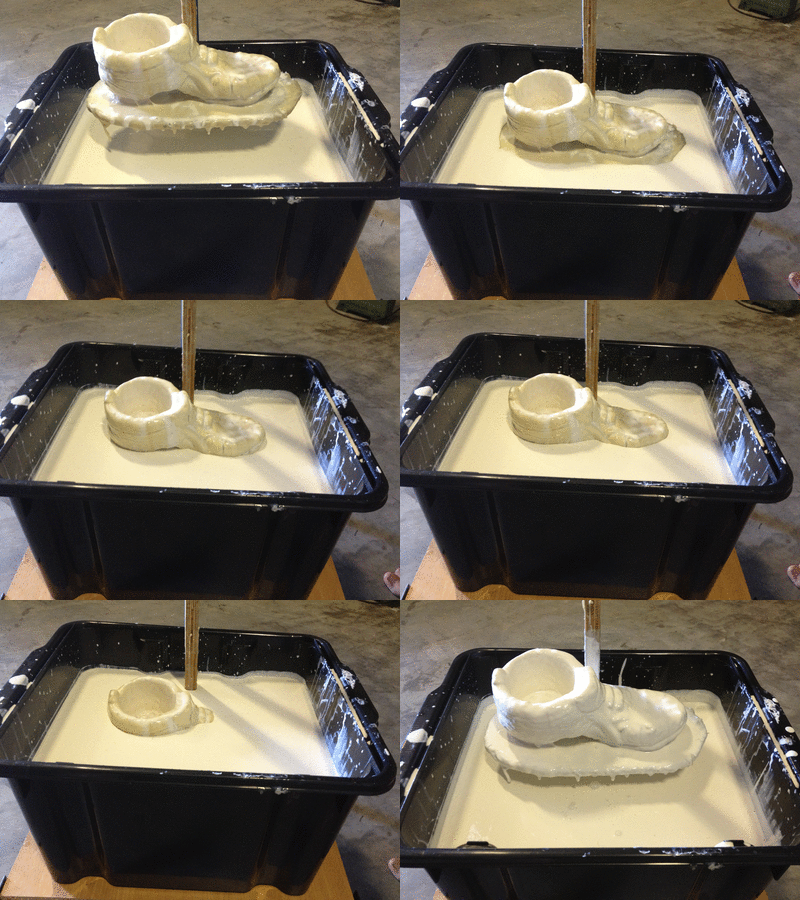
Probably one of the most well-known methods is the dipping method; this is usually used with a porous master, as this causes the latex to thicken.
Care must be taken to avoid air bubbles being formed on the master when removing from the dip tank, to overcome this, the master should be re dipped for a few seconds and then bursting any bubbles with a wooden skewer, pallet knife or brush.
 The first couple of dips are the most important, making sure all of the master is perfectly covered in latex. Re dipping of the mould greatly depends on the air atmosphere, in an ideal environment this would be 15-20 minutes between dips making sure that excess latex runs off and any air bubbles are removed. Drying time can be shortened by using a gentle heat, around 70 degree Celsius.
If a master is dipped for a longer period, then a thicker mould can be obtained, which in turn may take longer to dry and subsequently drying times will vary.
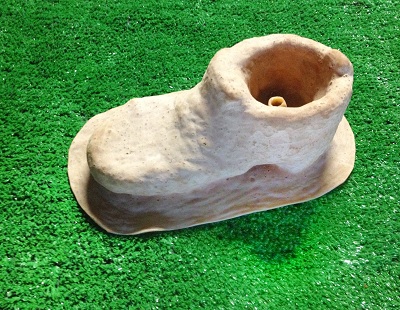
When latex dries it will usually turn from a white liquid to a transparent creamy yellow colour.
Best results are always obtained on the first initial dips of the mould and extra care should be taken.
Re dipping should be done within 8 -12 hours of the last coat being applied, so that the new latex will bond to the previous layer, so that splitting does not occur.
Keep dipping until the desired thickness is reached, this can be between 10 to 20 coats on a medium size mould.
Paint on Method- Ideal for Larger Masters
Paint the first layer of latex on with a soft brush making sure all areas of the master are covered, allow a part cure at room temperature where the latex has just started to form a skin and then apply the next layer of latex, if the master is non-porous the latex will tend to run off and this process will need to be repeated several times until the required thickness is achieved. Some pieces will often take 7 to 8 layers minimum, larger pieces could easily take 20-30 layers.
Cotton muslin can be used for around the edges of the mould during the dipping or brushing process; this will give the mould a stronger rim causing less tearing when de moulding. Muslin can also be used on certain parts of the mould where distortion may occur, but you must bear in mind that the mould must remain flexible enough to remove the master/ornament from the mould.
Thickening Latex
The appearance of Latex is a milky white liquid substance, latex can be thickened by using a commercial latex thickener which will produce a thicker creamier substance which will allow you to build up coats quicker and can be used on vertical surfaces with less drips or runs. By using a latex thickener you will reduce the amount of layers needed and the labour time, thickened latex generally has less elasticity and may reduce the life span of the mould. Before commercial thickeners were widely available, people would quite often use flour, talcum powder or wallpaper paste to thicken their latex.
Shrinkage
Latex moulds will usually shrink slightly; this can be as much as 10%, if they have dried out too quickly. To minimise shrinkage the drying time needs to be slowed down as much as possible, avoid using a thickening agent and the latex needs to be left on the master until the mould is fully dried out completely before being de moulded.
Colouring Latex
Latex can be coloured using a commercial grade colour pigment/dye which is often used for body painting etc.
Thinning Latex for Spraying
Watered down latex will always produce a darker shade and slight discolouration of the mould, than that of a natural latex mould that has not been thinned.
General Tips when using Latex
There are various different kinds of latex available on the market, pre-vulcanised, pre thickened, low ammonia, high ammonia which all have slightly different properties and uses, so the end user must make themselves aware of what type of latex would suit their purpose best to achieve optimum results.
Discolouration
Brown/Yellow marks on the mould is usually metal contamination of sorts, this could even be from the paint brush you have used if it has a metal band to hold the bristles in or from the master if this has any metallic paint on it. Even if you have touched something metal i.e. Coins, Rings etc. and then handled the latex mould this can cause blemishes.
De-moulding
Latex is self-releasing and does not need a release agent, however having said that, when a mould has been made for the first time, talcum powder should be used over the mould to avoid the latex from sticking to its self, once it has been remoulded, talcum powder can also be used on the inside of the mould and left to dry out thoroughly. Before use rinse the mould in clean water and fill.
Latex Mould Storage
Once made your latex moulds should be stored out of direct sunlight and in a dark cool atmosphere
Cleaning
Cleaning of latex moulds should not be done using any forms of detergent as this will break the latex down. These should be rinsed with clean warm water.
Latex Allergies
Some people do suffer from an allergy to latex, so the end user should always take care when using liquid latex.
We occasionally have Latex Thickener and Talcum Powder in Stock, please contact us for availability and price.

