No products in the cart.

How to Make a Concrete Letter Box or Bird House
Letter Box
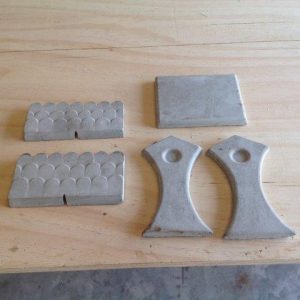
These moulds are designed so that you have a series of panels that need to be glued together.
 Step 1
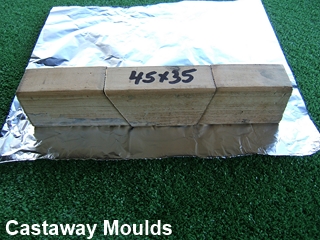
For Slots : Use a piece of wood, wrapped in aluminium foil.
In this example, this is the for the front section of the royal mail replica post box.
Observe the way the piece of wood has been cut into three sections, with the middle section cut the shape of a trapezoid.
Note: The outer pieces are cut at an angle. This will allow for easy removal.
 Step 2
A gap must be left to allow concrete to flow around the block.
 Step 3
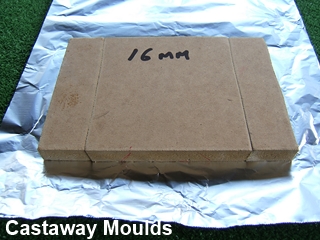
For larger holes, use a piece of MDF or similar, slightly thicker than the depth of the mould itself.
Cut the Wood into three sections, again making the middle section a trapezoid shape.
Note: The outer pieces are cut at an angle.
Then wrap with aluminium foil. In this example, this was for the back of the English post box mould. You can use different sized woods to produce different sizes holes.
 Step 4
Place your piece of wood, that you intend to use for a slot onto your mould.
Fixing the wood in place can be achieved by drilling through the mould and using screws.
If you do not wish to drill your mould, a small angle grinder with a concrete cutting disk can be used to cut out the the hole after the concrete is set.
 Step 5
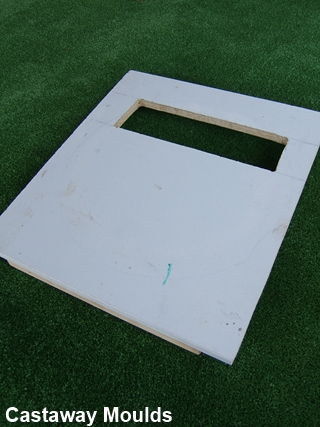
All moulds should be fitted with a wooden frame or carrier.
For the English Post Box Example: A rectangular hole will need to be made in the wooden frame to accept the mould.
This allows the mould to be kept level whilst filling and drying.
 Step 6
To create the bird holes.
The bird house moulds use the same methods as above, however round pieces of wood are used instead of rectangle.
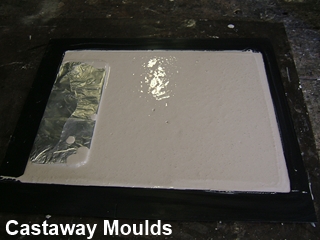
Remember to use release oil on all moulds before filling with concrete or plaster.
Do not overfill the moulds and smooth-off the concrete for a smooth-flat finish.
Leave to set and 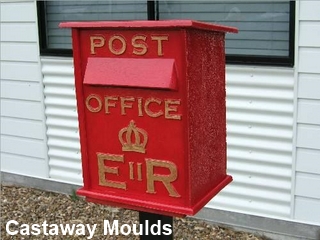 demould. Once fully dried, rub any rough edges flat.
All panels can then be gluded together starting with the base panel, using sikaflex/no nails type glue.
Walls and roof may need support until glue is dry.
When glue is dry, the ornament is now ready to be painted in the colour of your choosing using a water-based acrylic paint.
Once paint is dry, add a clear sealer for optimum protection.
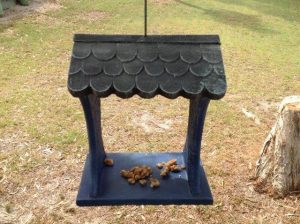
Bird House Assembly
Assembly of concrete bird house is relatively simple with just a few simple things needed such as:
- An empty box or container to support the sides of bird house
- A piece of string or rope
- No nails or sikaflex exterior type glue adhesive
 Step 1
Once you have made and de- moulded the concrete panels and they have fully dried out they can be glued together.
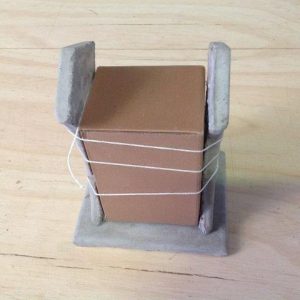 Step 2
The concrete base is best laid flat on a table and a suitable sized cardboard box can then be placed onto the base, glue can then be applied to the bottom of the side panels and fixed in place, and held temporarily with string tried to support the panels.
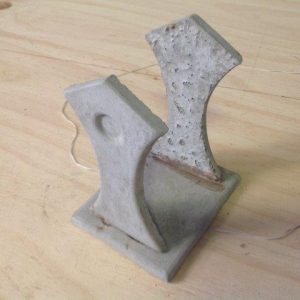 Step 3
Once sides are permanently fixed, remove the string and box, the top of the side panels can now be glued and roof panels can then be fitted and again use string to support panels until set in place.

Step 4
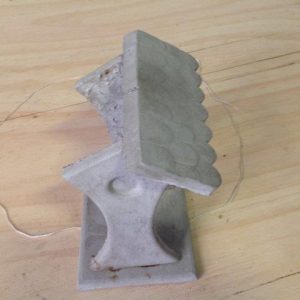
You are now ready to paint you ornament and hang in your Garden.
 Please Note:
This is a free-standing ornament, if you wish to turn this ornament into a hanging ornament, you will need to make 2 cuts in the centre of the roof panels with an angle grinder fitted with a concrete cutting disc.
This will then allow a piece of string or chain to be fitted through the middle of the ornament so it can be hung. Please see first and last picture.